Paver Contractors in Rain Tree, NC

Pavers That Actually Last in North Carolina

Professional installation with proper drainage so your investment doesn’t shift, sink, or disappoint.
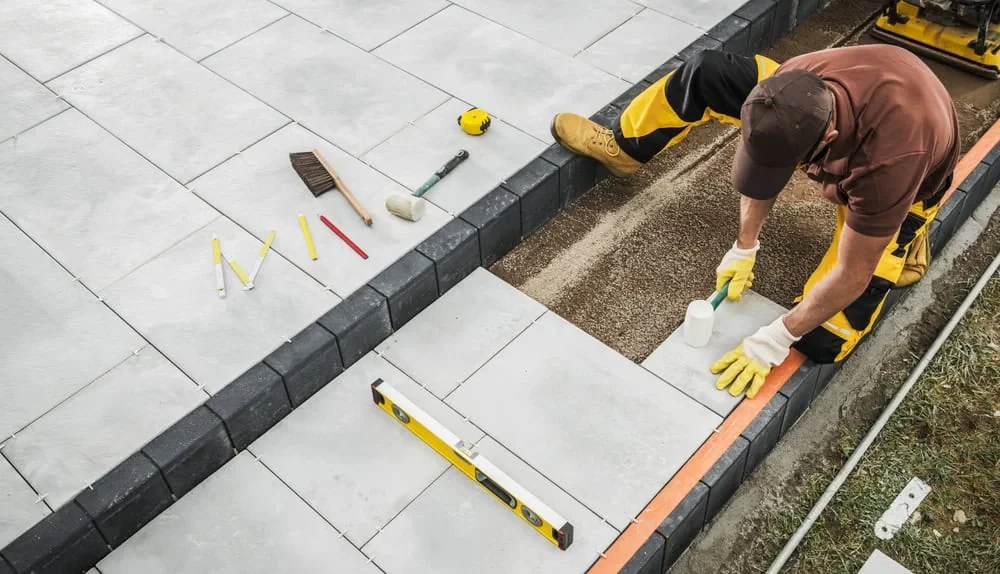
Landscaper Laying Concrete Slab Mecklenburg County North Carolina
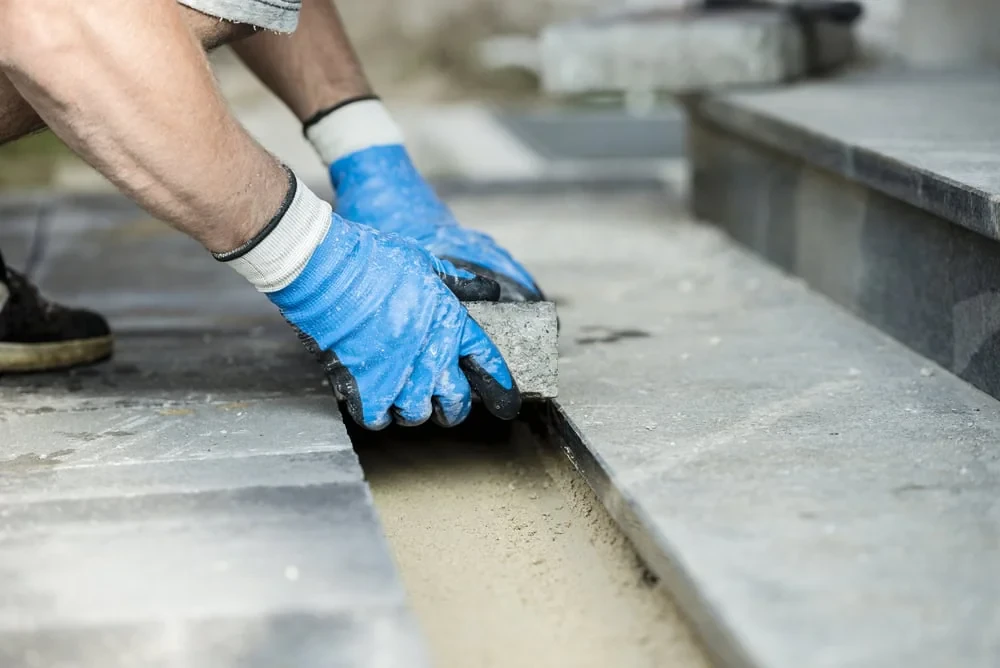
Leveling Sand Stone Stairs Mecklenburg County North Carolina_1

Professional Paver Installation Rain Tree

What You Get When It's Done Right

Your driveway won’t develop those embarrassing dips and cracks that scream “cheap job.” You’ll have a surface that handles North Carolina’s weather without constant repairs or maintenance headaches.

Your patio becomes the space you actually want to use. No more avoiding certain areas because pavers have shifted or settled. No more water pooling after every storm because someone skipped the drainage work.

You get to stop worrying about whether your contractor will show up, finish on time, or stand behind their work. The project gets done right the first time, and you can focus on enjoying your outdoor space instead of fixing problems that shouldn’t exist.

Rain Tree Paver Installation Experts

We Know Rain Tree's Ground Conditions

Union Landscaping and Hardscape S Corp has been handling paver installations throughout the Rain Tree area long enough to understand what works here and what doesn’t. We know the soil conditions, drainage challenges, and weather patterns that affect every project.

You’re not getting a crew that learned paver installation from YouTube videos. Our team understands proper base preparation, drainage solutions, and the installation techniques that prevent the settling and shifting issues that plague poorly done paver jobs.

We’re licensed, insured, and established in the community. When we finish your project, we’re still here if you need us.
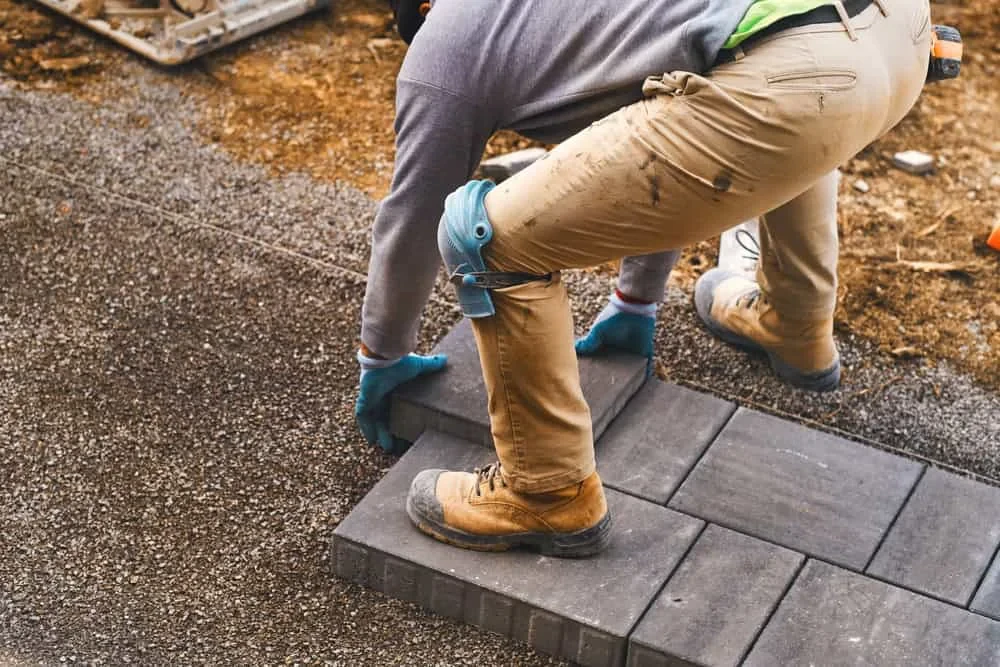
Landscaper Laying Gray Pavers Mecklenburg County North Carolina

Paver Installation Process Rain Tree

Here's How We Handle Your Project

We start with a site evaluation to assess your drainage needs and soil conditions. This isn’t a quick glance – we’re looking at water flow, existing grade issues, and any potential problems that need addressing before we start digging.

Next comes proper excavation and base preparation. This is where most paver jobs succeed or fail. We excavate to the right depth, install proper drainage where needed, and create a stable base using the right materials and compaction techniques.

Then we install your pavers with attention to proper spacing, alignment, and edge restraints. We finish with joint sand and final compaction. You get a walkthrough of the completed work and care instructions so you know how to maintain your investment.
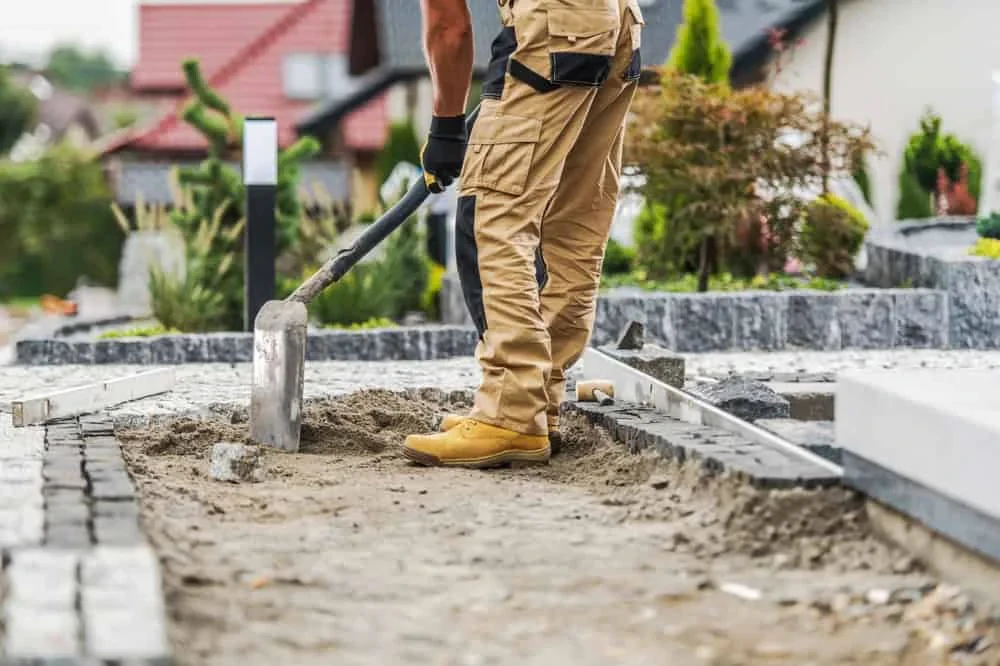
Landscaper Shoveling Foundation Mecklenburg County North Carolina_1

Ready to get started?

Explore More Services

About Union Landscaping and Hardscape

Get a Free Consultation

Complete Paver Services Rain Tree

What's Included in Every Installation

Every paver installation includes proper site preparation, drainage assessment, and base work. We don’t cut corners on the foundation work that determines whether your pavers will last 20 years or start failing in two.

You get professional-grade materials and installation techniques. We use proper edge restraints, joint sand, and compaction methods. Our crews have the right equipment to do the job correctly, not improvised solutions that create problems later.

We handle permits when required and coordinate with utility marking services. You get a detailed explanation of care and maintenance requirements, plus information about what to watch for as your pavers settle into their first year.
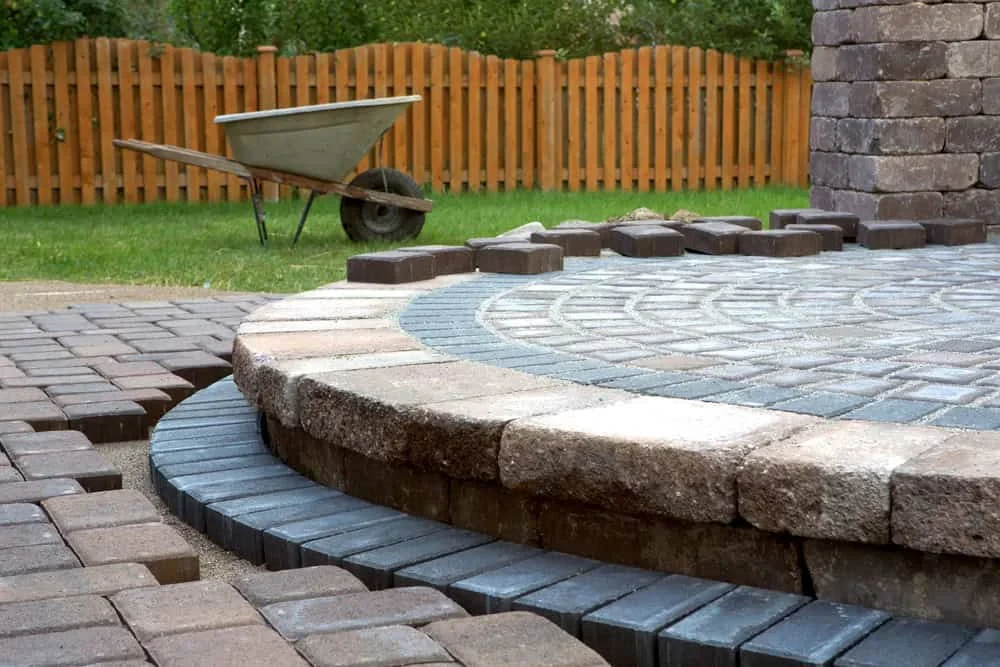
Stone Patio Under Construction Mecklenburg County North Carolina

How long do professionally installed pavers typically last in North Carolina?

Properly installed pavers can last 20-30 years or more in North Carolina’s climate. The key is correct base preparation and drainage. Pavers themselves are extremely durable – most problems come from poor installation techniques like inadequate excavation, wrong base materials, or ignoring drainage needs. When the foundation work is done right, pavers actually perform better than concrete in our freeze-thaw cycles because they can flex slightly without cracking. The investment in proper installation pays off in decades of trouble-free performance.
The difference usually shows up within the first year. DIY installations often skip crucial steps like proper excavation depth, adequate base materials, or edge restraints. Without the right equipment, it’s nearly impossible to achieve proper compaction. Most homeowners also underestimate drainage requirements. Professional installation includes site assessment, proper excavation, correct base materials, professional-grade compaction equipment, and knowledge of local soil conditions. We also handle the details that prevent long-term problems – proper slopes, edge restraints, and joint sand application. The cost difference between DIY and professional installation is usually less than the cost of fixing a failed DIY project.
Drainage is part of every paver project evaluation. We assess existing water flow patterns and identify potential problem areas before excavation begins. Solutions might include adjusting grades, installing drainage pipes, or adding gravel drainage layers beneath the base. In Rain Tree’s clay-heavy soils, proper drainage is especially critical. We often install French drains or other subsurface drainage systems to prevent water from undermining the paver base. The goal is directing water away from the paved area while maintaining proper slopes for surface drainage. Good drainage work is invisible when done right, but it’s what prevents settling, shifting, and premature failure.
Driveway pavers need to handle vehicle weight and turning forces, so we typically recommend thicker pavers (at least 2.375 inches) and stronger base preparation. Concrete pavers or thick natural stone work well for driveways. For patios, you have more options since foot traffic is lighter. Thinner pavers, natural stone, or decorative options work fine with appropriate base work. The installation technique matters more than the specific paver type in most cases. Driveway installations require deeper excavation, more base material, and often concrete edge restraints. Patio installations can use more flexible edge treatments and don’t need as robust a base, but proper drainage is still essential for both applications.
Properly installed pavers are relatively low maintenance. You’ll need to replenish joint sand occasionally – usually every 2-3 years depending on weather and use. This involves sweeping new sand into the joints and lightly watering it down. Occasional cleaning with a pressure washer keeps them looking good, and sealing every few years can enhance color and provide stain protection. Weeds can grow in joints if you don’t maintain the sand, but this is easily prevented with proper joint sand and occasional maintenance. The key is staying ahead of small issues. Well-maintained pavers actually require less ongoing work than concrete, which can crack and require more expensive repairs.
Most residential paver projects take 3-5 days depending on size and complexity. Day one typically involves excavation and base preparation. This is the messiest part – expect noise, equipment, and disrupted access to the area. Days two and three usually involve base work, compaction, and beginning paver installation. The final days focus on completing the paver installation, joint sand, and cleanup. Weather can affect the timeline, especially if we encounter drainage issues that need addressing. We’ll keep you informed about progress and any issues we discover. Access to the area will be limited during installation, and you’ll need to avoid the new pavers for 24-48 hours after completion to allow everything to settle properly.